Final Configuration
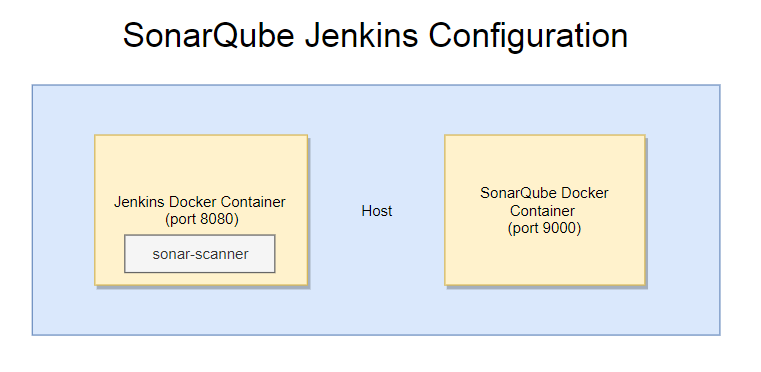
We want to have two Docker containers running on the same host – one container will be for Jenkins and the other for SonarQube. The Jenkins container will also have
sonar-scanner running locally to perform the code quality inspections.
Jenkins Installation
docker pull jenkins/jenkins
This will download the Jenkins image with the latest tag. Running docker images should show this docker image in the local repository:
jenkins/jenkins: latest
Note that there has been some confusion about which Jenkins image is the official one which
this article clarifies.
- start a new Jenkins container from the downloaded image with the following command:
docker run -d -p 8080:8080 -p 50000:50000 --name jenkins-article jenkins/jenkins:latest
This creates a new Docker container and starts Jenkins on port 8080 with the container name jenkins-article.
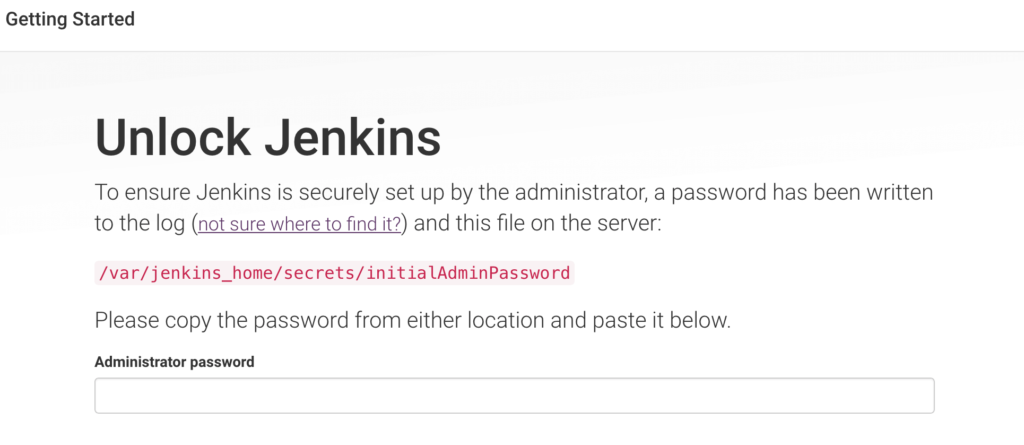
- access http://localhost:8080 to show the initial Jenkins unlock screen:
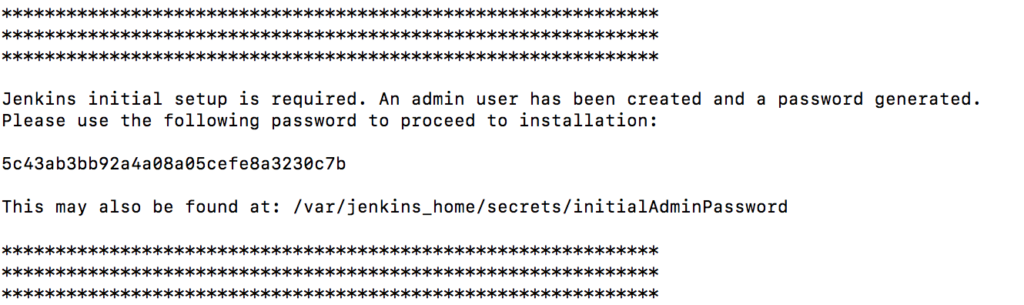
- paste the pre-generated admin password which will be in the file location specified as well as on the console output during the previous docker run command:
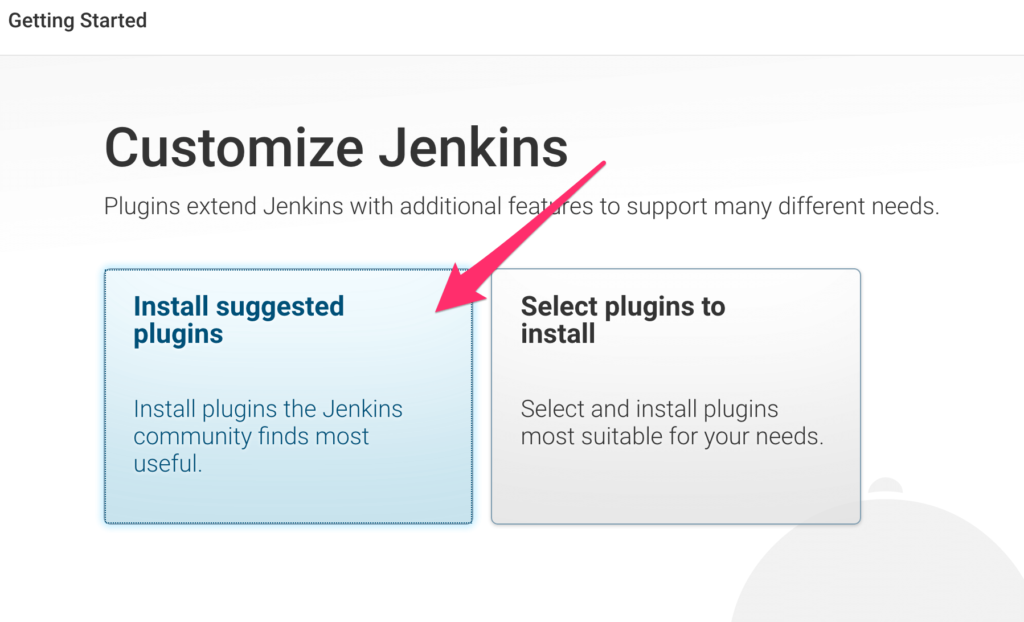
- install the suggested plugins on the Customized Jenkins screen
- create the first admin user and click through to next screen
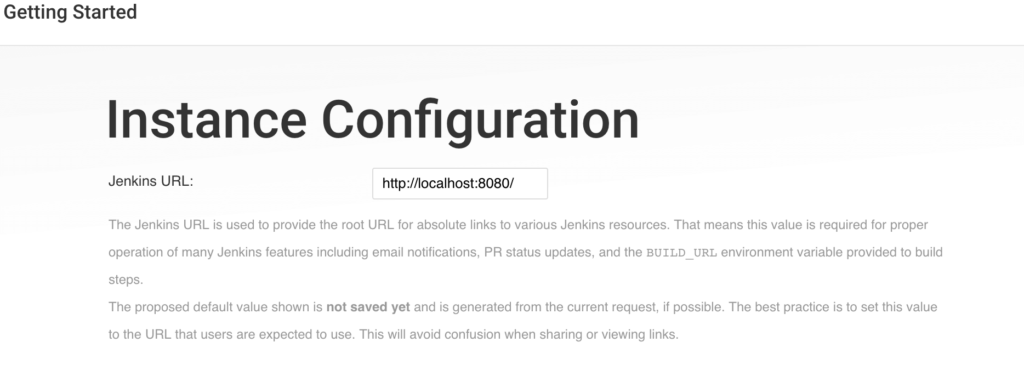
- click Save and Finish on the Instance Configuration screen
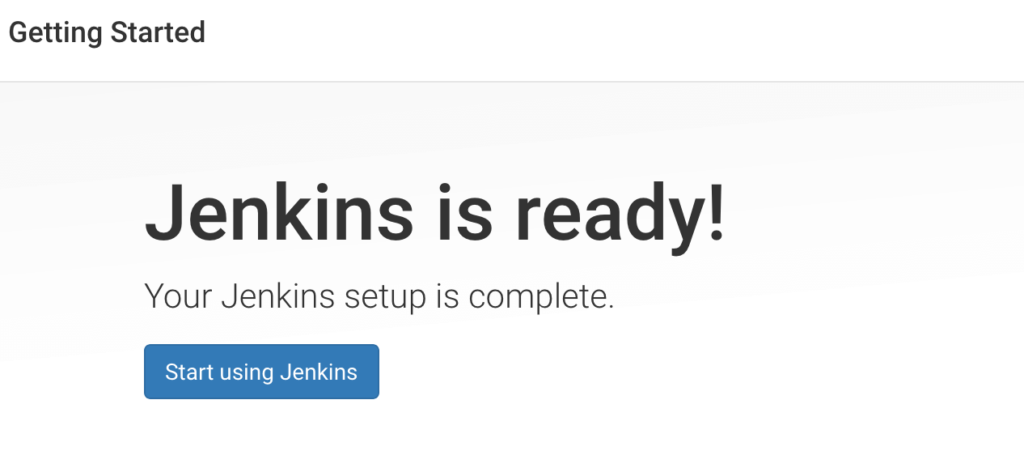
- click Start using Jenkins on the final screen:
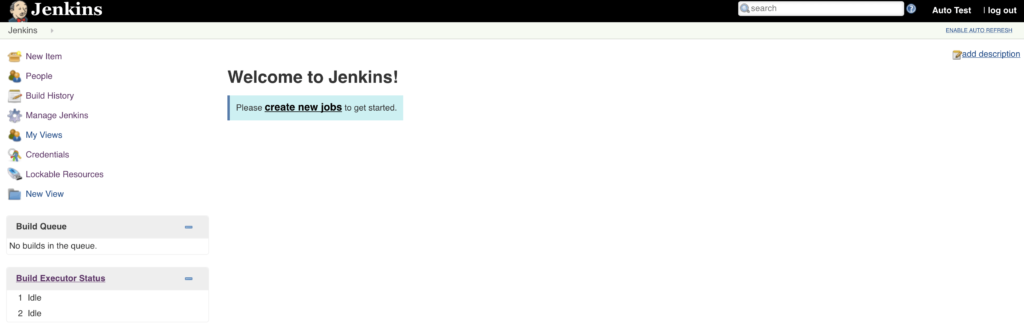
- you should now have a ready to use Jenkins server:
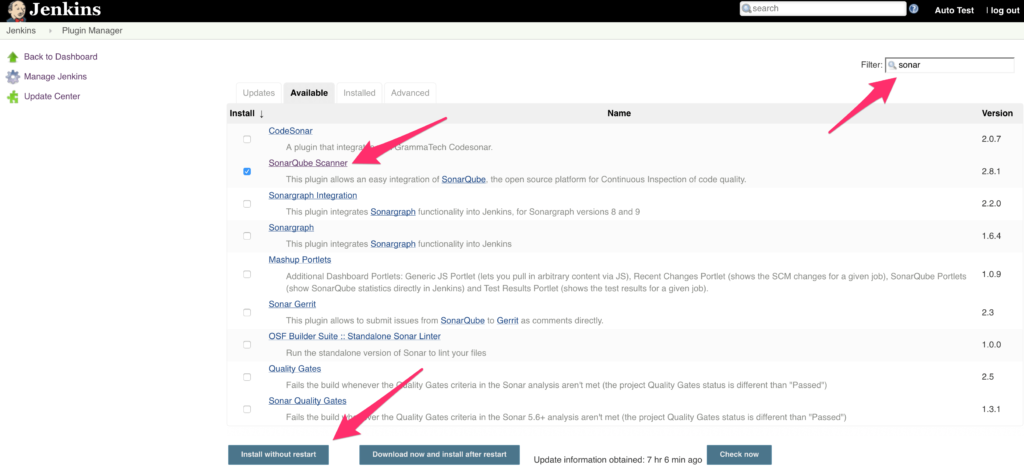
- install SonarQube Scanner Jenkins plugin (Manage Jenkins > Manage Plugins > Available)
SonarQube Installation
docker pull sonarqube
This will download the SonarQube image with the latest tag. Running docker images should show this docker image in the local repository:
sonarqube: latest
- start a new SonarQube container from the downloaded image with the following command:
docker run -d --name sonarqube-article -p 9000:9000 sonarqube
This creates a new Docker container and starts SonarQube on port 9000 with the container name sonarqube-article.
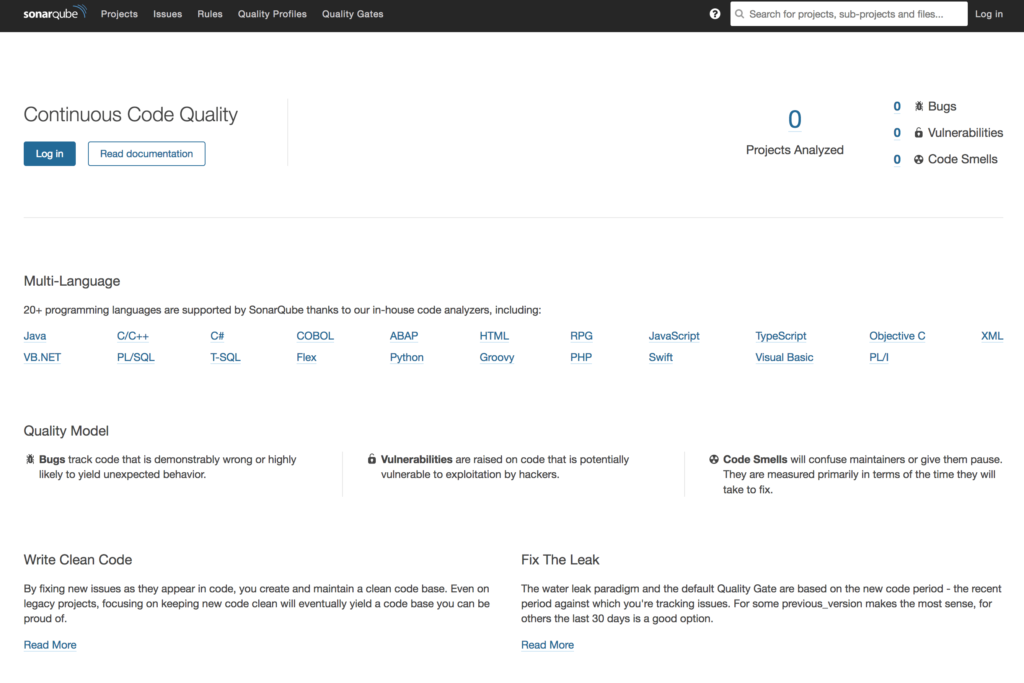
- access http://localhost:9000 to show the initial SonarQube screen:
Note that you might need to wait a few seconds while SonarQube is starting to see this screen.
- login to SonarQube with the default admin user and admin password
- skip the tutorial to generate a new token
SonarQube Scanner Configuration
SonarQube Scanner (aka Sonar Scanner) is a stand alone tool that does the actual scanning of the source code and sends results to the SonarQube Server. In our simple setup, we will install Sonar Scanner on the same container as Jenkins, but in a production environment it would most likely be on a separate machine/container/VM.
- access the Jenkins Docker container from a bash shell like this:
docker exec -it jenkins-article bash
where jenkins-article is the name of the Jenkins container.
- create sonar-scanner directory under /var/jenkins_home
- download SonarQube Scanner onto the container from the sonar-scanner directory with wget:
wget https://binaries.sonarsource.com/Distribution/sonar-scanner-cli/sonar-scanner-cli-3.3.0.1492-linux.zip
- unzip the Sonar Scanner binary:
unzip sonar-scanner-cli-3.3.0.1492-linux.zip
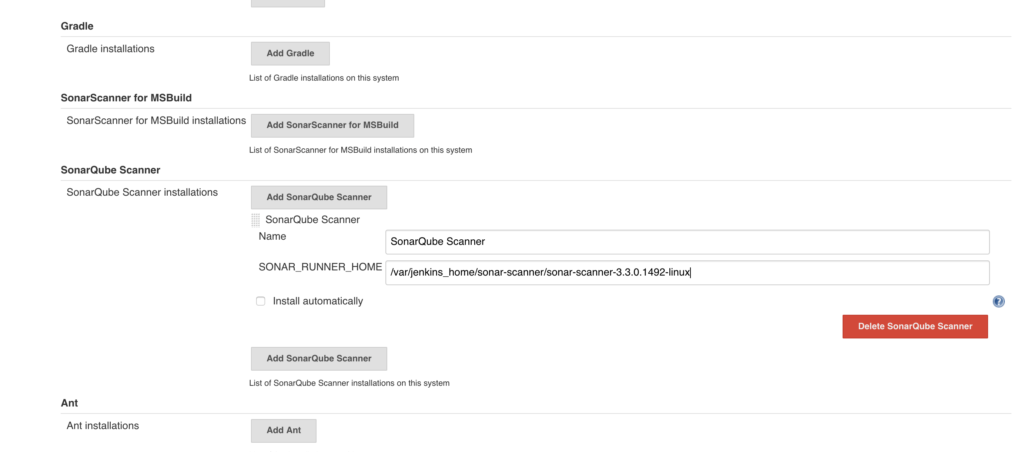
- update Jenkins to point to sonar-scanner binary (Manage Jenkins > Global Tool Configuration > SonarQube Scanner); you will need to uncheck “Install automatically” so you can explicitly set SONAR_RUNNER_HOME
Configuring Jenkins and SonarQube
After Jenkins and SonarQube are running inside their own docker containers, it’s time to configure them to communicate with each other.
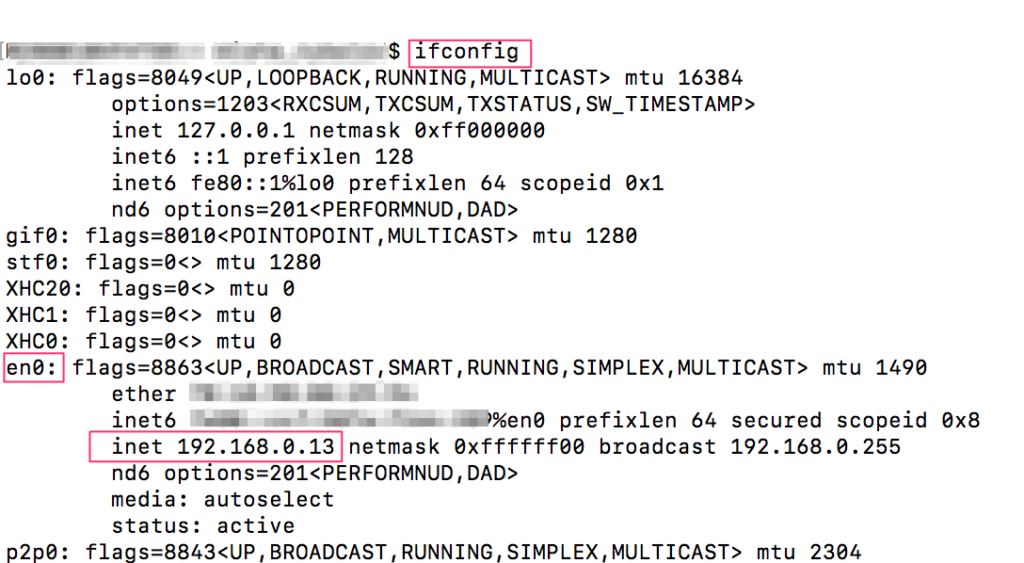
- get IP address of host by executing from the host:
ifconfig
Look for the IP address listed for en0 > inet:
This returned 192.168.0.13 which will be used for both Jenkins and SonarQube configuration. Note that if you change networks, you will have to update the IP address on Jenkins and SonarQube to be the new host IP. For a more flexible IP assignment that won’t need to be updated if the host IP changes, you can leverage
networking with a Docker Compose file.
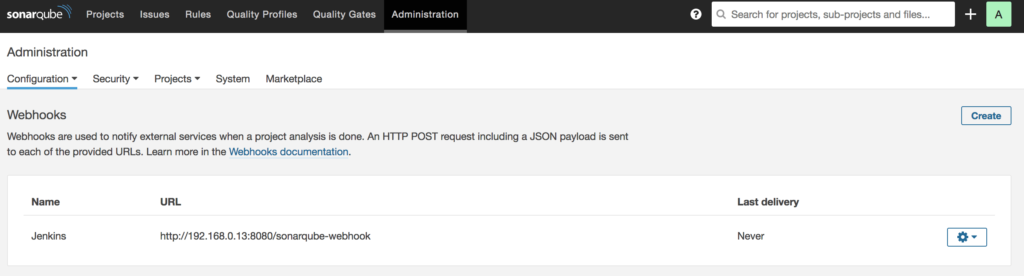
- add webhook in SonarQube to point to Jenkins (Administration > Configuration > Webhooks); URL will be in the format http://<host_ip>:8080/sonarqube-webhook (http://192.168.0.13:8080/sonarqube-webhook)
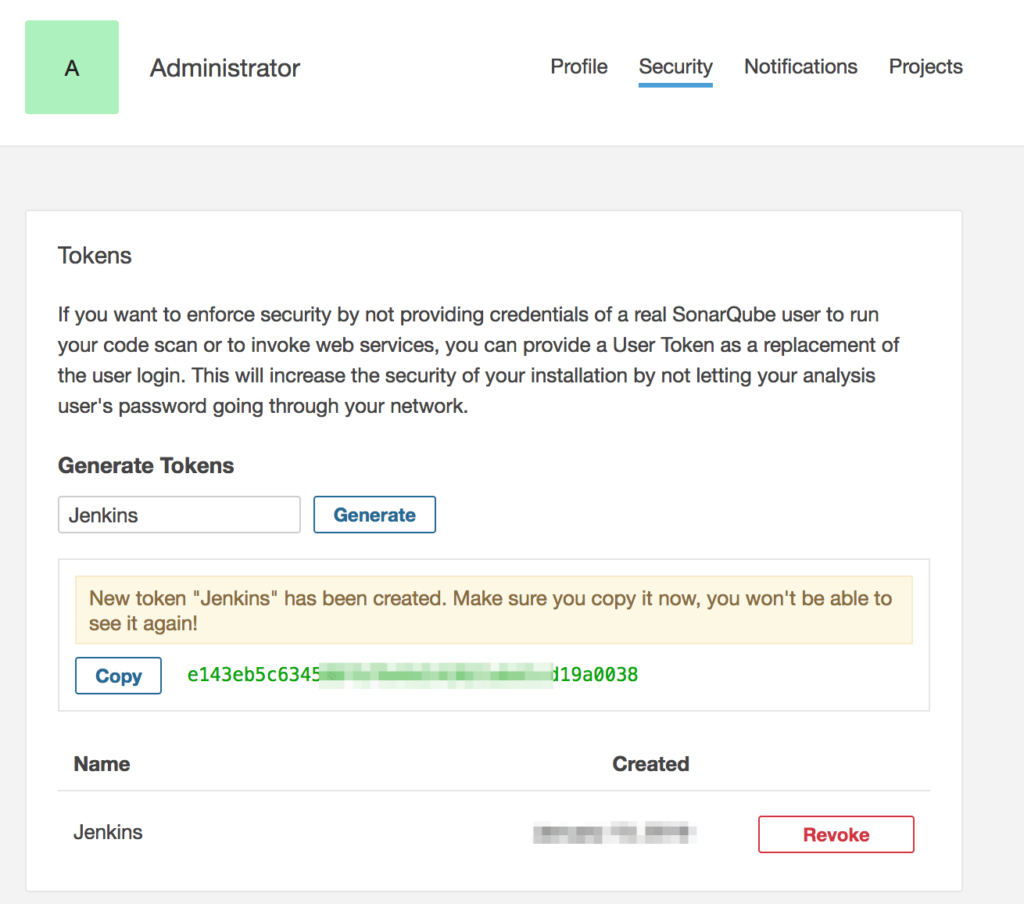
- in SonarQube, generate an access token that will be used by Jenkins (My Account > Security > Tokens)
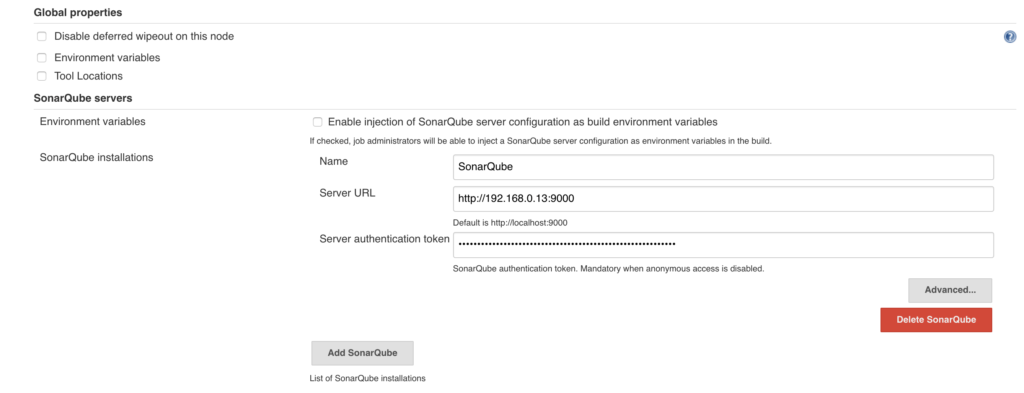
- in Jenkins, add the SonarQube Server IP address and the access token (Manage Jenkins > Configure System > SonarQube Servers); URL will be in the format http://<host_ip>:9000 (http://192.168.0.13:9000)
Conclusion
You now have SonarQube and Jenkins configured to work together locally within Docker containers. You can now create Jenkins pipeline jobs to start analyzing your projects.
from :
https://funnelgarden.com/sonarqube-jenkins-docker/